I threatened to make this dish in this post, and make it I did, using up one of the two gigantic arm roasts from my grandfather that had been occupying valuable freezer space for far too long. And was it ever good! I give all credit to the creator of the recipe over at The Noshery, because it never would have occurred to me to add blueberries to a pot roast. They give the final dish a fun kind of tang that complemented the already rich and savory flavors that always come with roasting meat for hours and hours. I have also never tasted such delicious onions. Some heavenly chemistry involving the balsamic vinegar happened, and the onions are both melt-in-your-mouth and chock full of flavor. Chock! Full! And the carrots . . . ooooh! Oh. *fanning self* OK.
I won’t talk about the amazingness of the mushrooms at all, because I might start crying. Plus, you’ve heard me rave about mushrooms far too often by now.
With some (but not many) variations on the original, here it is. Your fall experience won’t be complete without a good pot roast, so you might as well make this one since it will fulfill your taste buds’ every dream and longing.
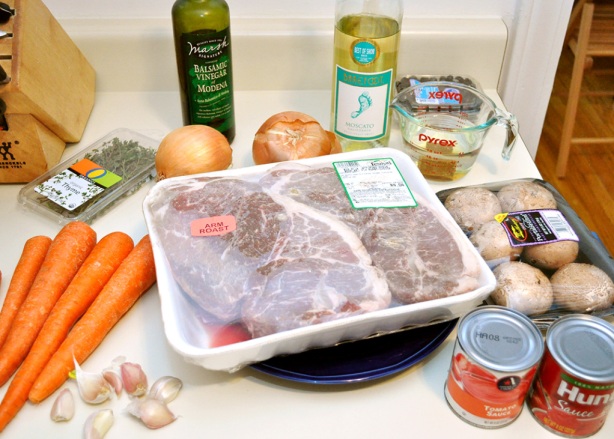
Ingredients
(Serves 7-8)
1-3 lb to 4 lb roast (chuck roast or arm roast)
1/2 c flour, optional
1/4 c Olive oil, divided
2 large onions
5 large carrots
6 oz baby portobello mushrooms
10 cloves garlic
1/2 c balsamic vinegar
3/4 c beef broth
1/3 c wine (I used sweet white wine)
16 oz tomato sauce
2 c fresh blueberries
Salt and pepper, to taste
3 TBS fresh thyme leaves plus 3 sprigs to garnish
First, preheat the oven to 275 degrees.
Quarter the onions, chop each carrot into 4-5 pieces, smash the garlic cloves (I leave them whole) and remove the skin, and thickly slice the mushrooms. I like to use nice, meaty mushrooms for this:

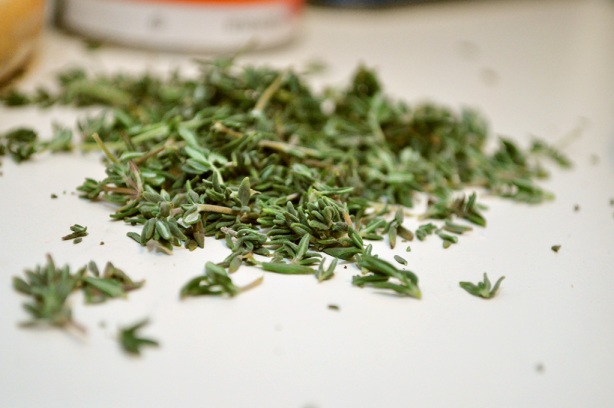
Pull the thyme leaves off of their stems:
Heat some of the olive oil in a large Dutch oven over medium high heat. When it’s hot, add the onions and carrots. Sprinkle them with some salt and pepper–you know you want to. And does anyone else adore licking some freshly ground pepper straight out of your palm?
Huh. I could have sworn I wasn’t alone there . . .

Cook them for 6-7 minutes, until they’re nicely browned, and then take them out and set them aside in a bowl.
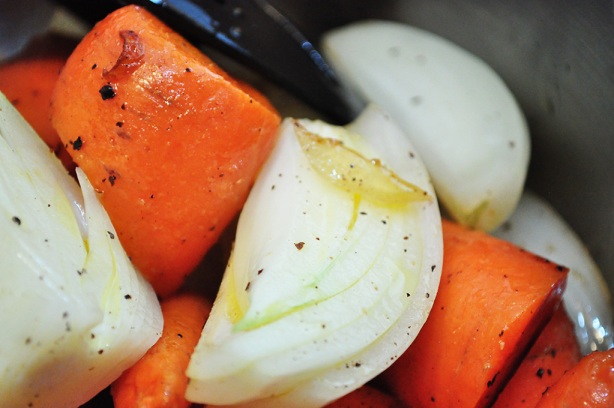
OK, those weren’t as ‘nicely browned’ as they could have been–but I was huuungry! And dinner was still hours and hours away!
Add a little more olive oil to the pot. Still on medium high heat, add the mushrooms and garlic . . .

. . . and fry 4-5 minutes until golden.
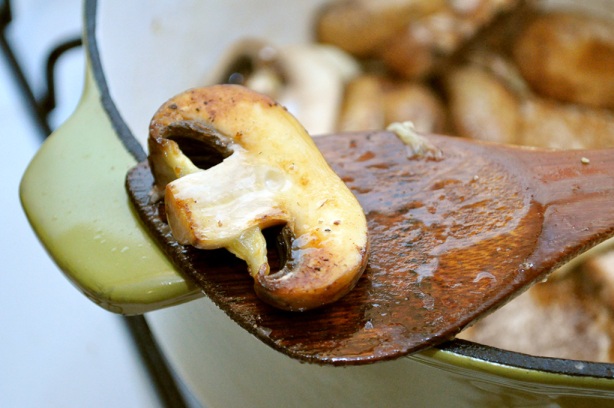
Remove them as well. Try not to eat every single one–it would make your life a wonderful and perfect place in the moment, but it would also really detract from the final dish. Choose the delayed gratification route! Abstinence always! It’s the more mature option.
OK, and sneak a little bite in, too–I mean, what’s the fun in complete mushroom self denial?
Sprinkle generous amounts of salt and pepper all over the roast. This is optional, but you can also give it a light coating of white flour, which will later help to thicken the sauce into something more like a gravy. Add the rest of the olive oil to the pot, and when it’s heated, add the roast.
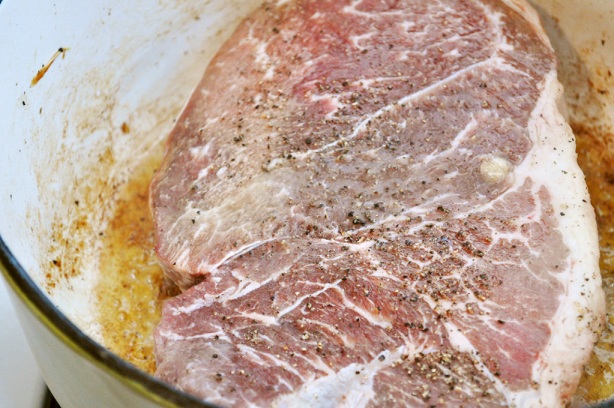
Sear on all sides so that it’s a dark brown color all over. This should take about 8-10 minutes.
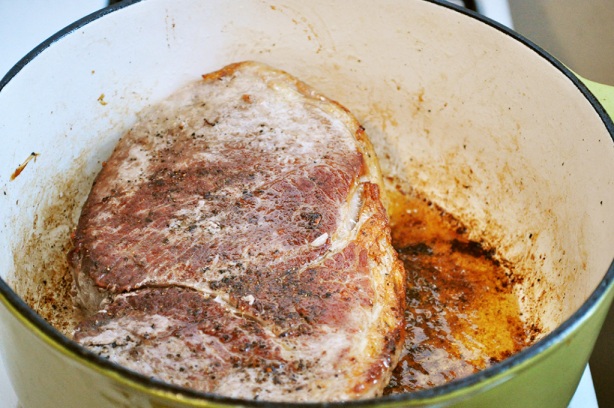
Remove the roast to a plate or bowl.
With the burner still on medium high, add the vinegar, wine, and broth. You can totally use red wine here–that was my first instinct. You know–red meat, red wine. However, all I had was some sweet white wine left over from making Pasta Fresca, and that was also delicious, so don’t be a discriminator. You can’t go wrong with wine when it comes to a roast. I love all the colors!
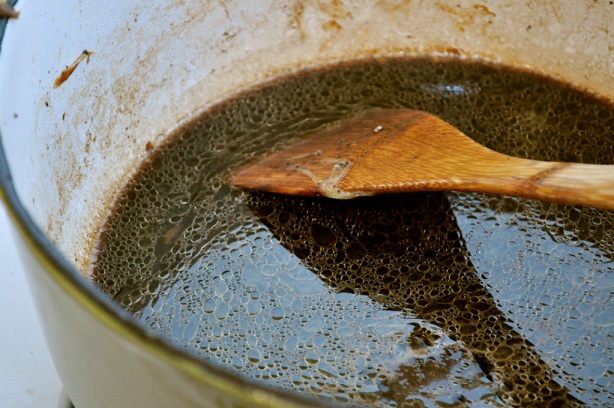
Stir and bring to a rapid simmer, scraping the bottom to collect all the brown bits that add flavor to the sauce. Add the tomato sauce:
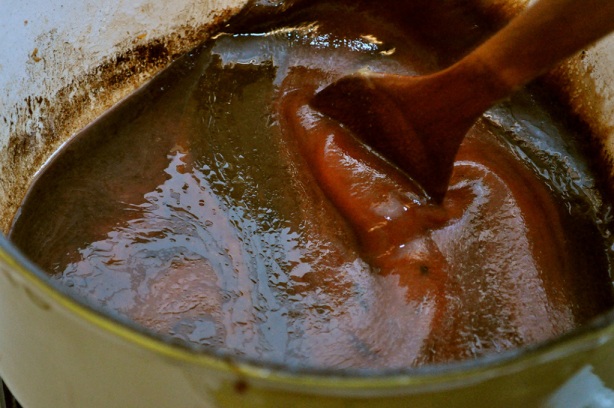
Add the blueberries . . .

. . . and the thyme leaves, too. I love pictures of things falling into pots.


Cook this little concotion for a couple minutes longer.
Add the roast back into the pot, submerging it in the sauce. Add in all the veggies as well.
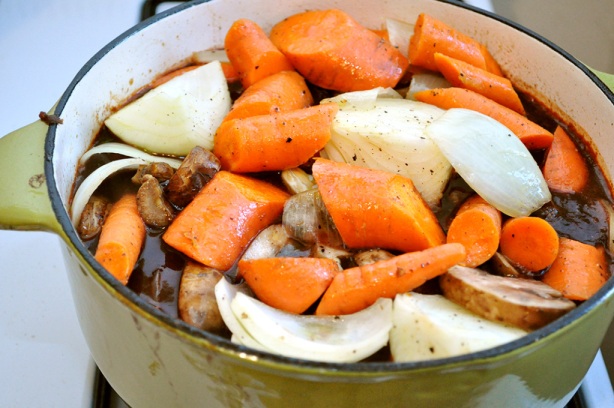
Stir them around to envelope them in the sauce.

Now cover the pot, and put it in the oven for 3-4 hours. I cooked my 3 lb roast for at least 4 hours and it was perfect. I’ve heard that you should do about an hour per pound of meat . . . is that right, Oh Experienced Cooks? (Mom?)
Those of you who read about my arm roast dilemma know that at this point, a second roast was also going into the oven:
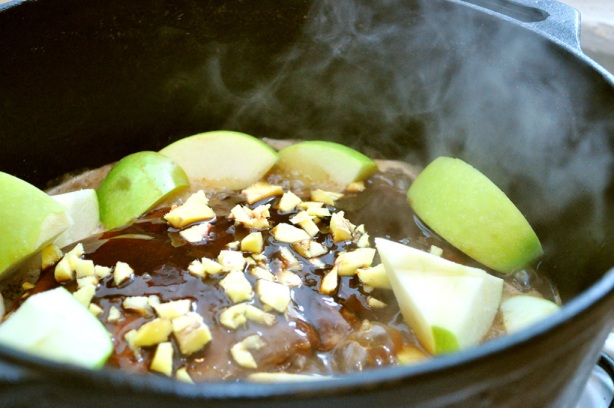
Oh, the terrible and wonderful bounty.
But let’s get back to the dish that has brought us all together here today. Here’s what it looks like when it first comes out:

Your job is to stick a fork in there, pull the meat to the surface, and see if it’s done. You can do that by pulling it gently apart with two forks. If it comes apart easily, it’s dinner time, baby.
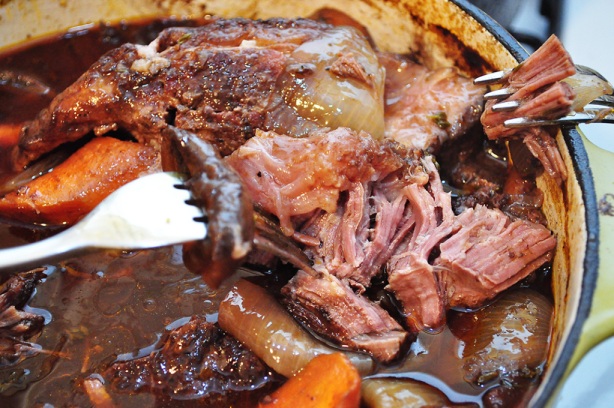
If not, slap her back into the oven for another hour while shouting “Now don’t you come back out until you’re done, you hear me?” That usually puts some sense into that pot roast. Plus it shows it who’s boss around here. Once it’s done, you can remove the meat to a platter for easy serving (the pieces of fat usually detach themselves and are easy to spot, fish out, and throw away). Just make sure to pour plentiful juice all over the meat as you serve it.
The onions are TO DIE FOR. Seriously, these onions need to be on the forefront of your thoughts as you walk away from this post.
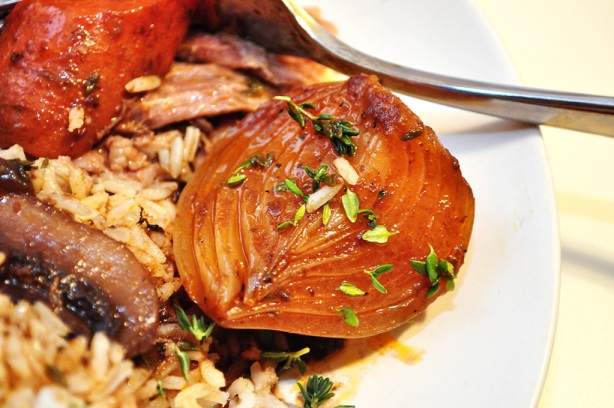
The meat is so tender that there is no need for a knife at all.
Serve over rice, noodles, or potatoes. Please forgive me for the slight blurriness in the below pictures. And please–don’t punish the roast for my personal and photographic failures! Make the roast! Love the roast!


Click here for printer-friendly version: Balsamic Pot Roast with Blueberries and Thyme