 Also called a Dutch baby, this recipe hails from my new favorite source: an America’s Test Kitchen cookbook. How I love those people–their scientific dedication to perfecting recipes, their tireless explanations of why some things work and others don’t, the variety of recipes and cuisines they play with.
As a kid, Friday nights were movie nights. We would spread out a large tablecloth on the rug and set out an assortment of food–sometimes Mom’s homemade pizza, but very frequently a meal called “Popcorn, Cheese & Apples.” It’s pretty self explanatory. Fresh, stovetop popcorn, slices of whatever cheese was on hand, and sliced apples. I recently reproduced this meal for a movie night in our little apartment, except that instead of serving sliced apples I served this apple pancake.
It was delightful! A tad tricky, but hopefully by pointing out my errors I will help you avoid them. Let’s hit it!
Ingredients
(Serves 4)
3/4 cup half and half
2 large eggs
1 TBS sugar
1 tsp vanilla
1/2 tsp salt
1/2 cup flour
1 TBS butter
3 medium Granny Smith apples, peeled, cored, and cut into 1/4 inch slices
1/4 cup packed light brown sugar
2 TBS powdered sugar, for serving
Preheat the oven to 500 F with the rack in the middle.
Now we’re going to deal with those apples.
 These 3 look like troublemakers to me. Let’s call them Stan, Cran, and Harriet.
 Peel them, core them, cut them in slices, and tell them to drop and give you ten.
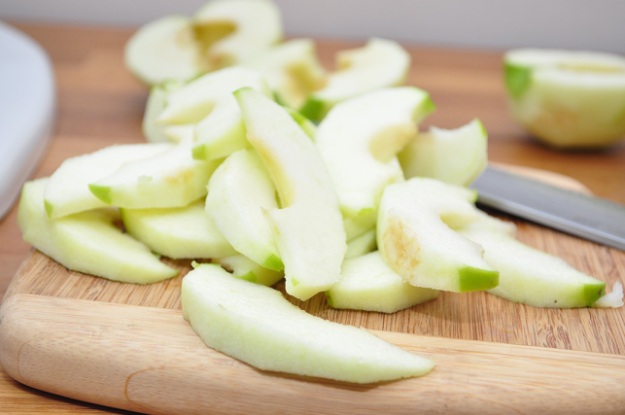 Here are the ingredients for the batter, all assembled and looking quite demure:
 Into a blender or food processor, add the eggs, sugar, salt . . .
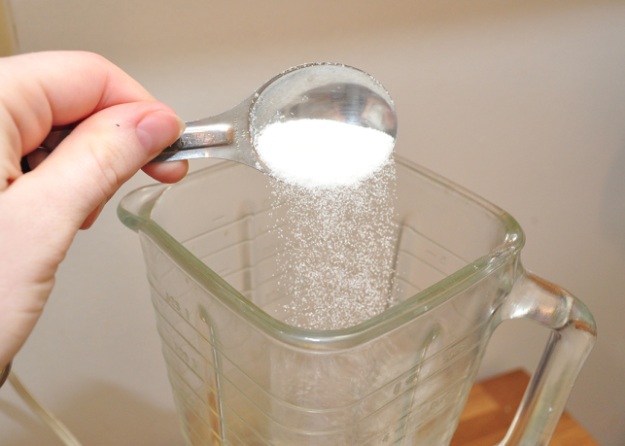 . . . the half and half and the vanilla.
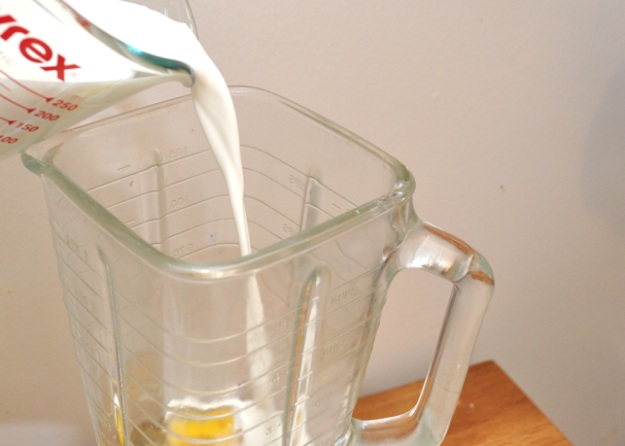 Blend for about 15 seconds, until combined.
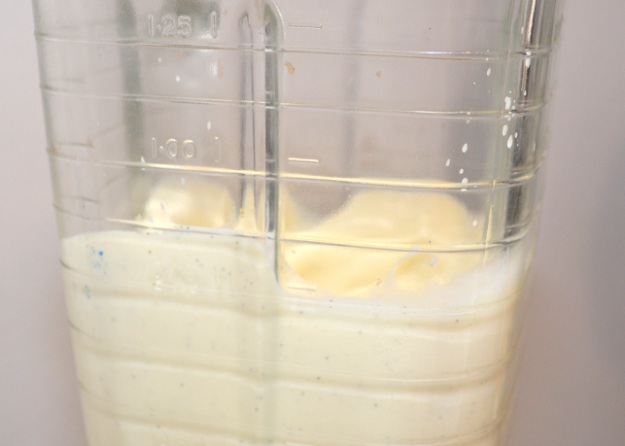 Forgive the hideous pictures–I’ve been cursed with a non-photogenic blender. And an inconsistent white balance, which makes my white wall look strangely mauve. Or would you call that more of a lavender tone?
Add the flour . . .
 . . . and blend again until mixed and lump-free (about 30 more seconds).
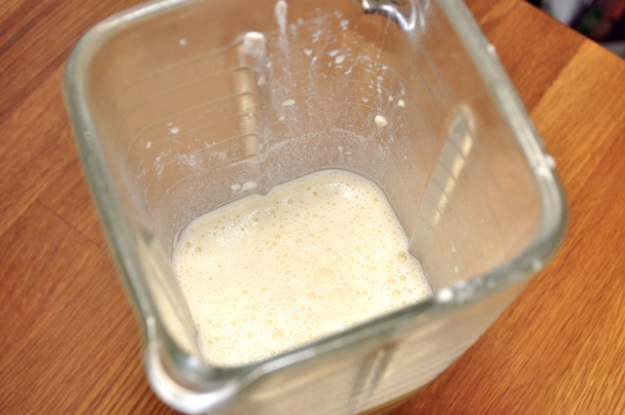 Melt the butter in a 10 inch ovenproof nonstick skillet over medium high heat. Add the apples and brown sugar.
 Cook for 5 minutes, stirring occasionally . . .
 . . . then cook for 5 further minutes stirring constantly. You don’t want that sugar to burn!
 The apples should now be a lovely golden color.
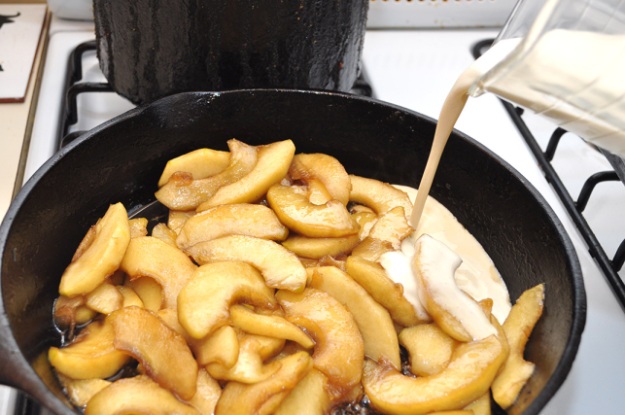
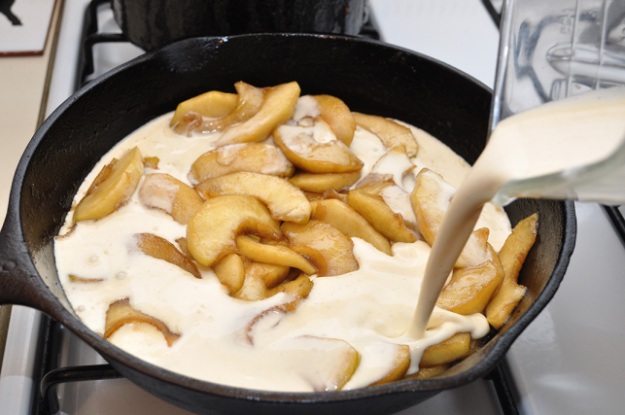
 Turn off the heat and pour the batter into the skillet, starting at the edges . . .
. . . going around in a circle (still around the edges) . . .
. . . and ending in the middle.
 Immediately put the skillet in the oven and lower the heat to 425 F.
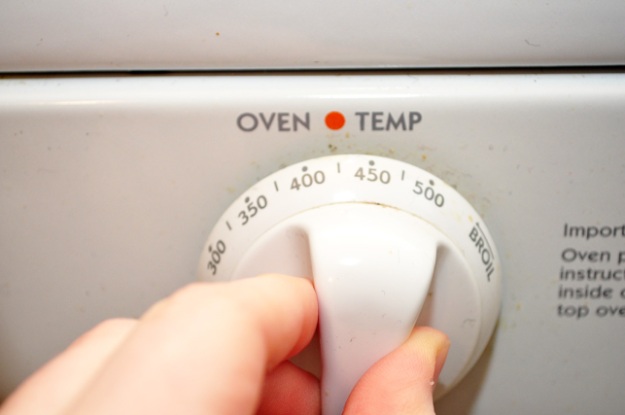 Man, I try to keep those knobs on the stove clean, but the grease . . . the grease. It’s a fighter. A serious contender for the victory.
Bake 15-17 minutes, until golden and puffed.
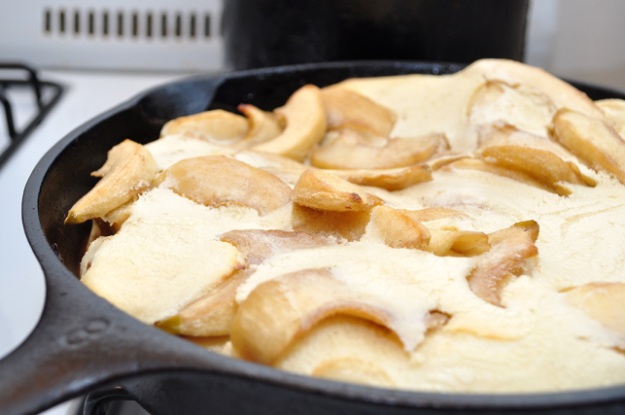 By all means do not exceed 17 minutes. You’ll see why soon enough.
Remove the skillet from the oven and, using a spatula that’s heat proof, loosen the edges of the pancake.
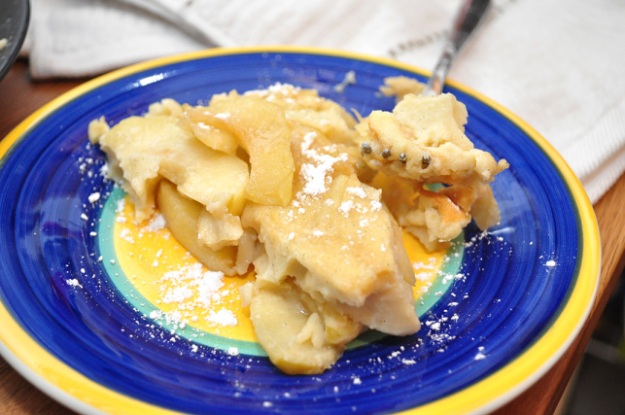
 Invert the pancake onto a platter by turning the skillet upside down, and dust with confectioner’s sugar. The ‘puff’ only lasts a few minutes, so serve immediately!
I’m not guaranteeing that it won’t fall apart (as you can see it did in the above picture) . . . but it’s so tasty no one will care.
Okay, I hope you’re steeling yourself. Because I have a confession to make: the first time I made this, I thought I knew better than (gulp) America’s Test Kitchen. The pancake looked very cream-colored on top after the full 17 minutes, so I left it in 4-5 minutes longer.
I claim full responsibility.
America’s Test Kitchen shares 0% of the fault for this blackened disgrace.
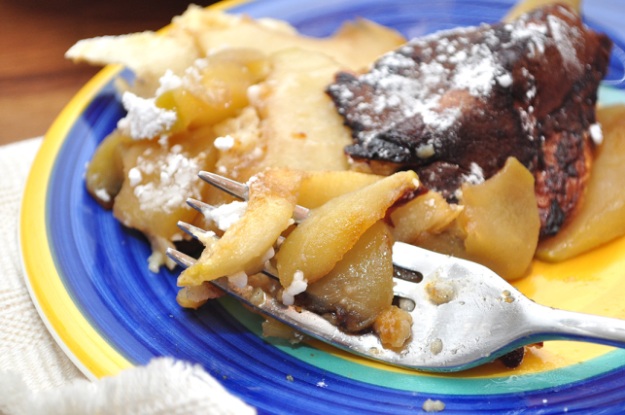 Believe it or not, it still tasted amazing. I wouldn’t lie to you. I ate about 75% of it entirely by myself.
Don’t hate on it ’cause it’s not pretty.
I did attempt to redeem myself by making it a second time. I removed it right at 17 minutes, and it was perfect.
However, still not very photogenic.
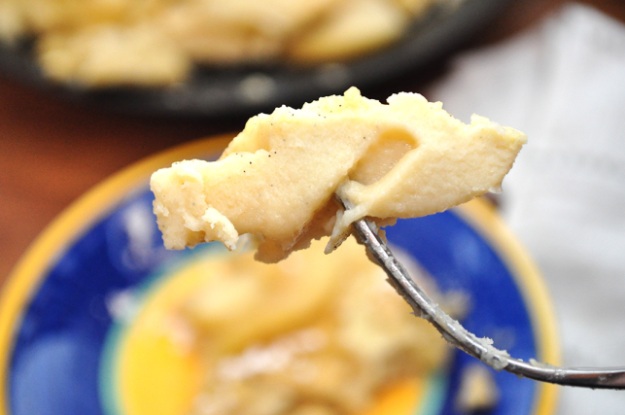
Just close your eyes, think moist apple pie/cake thingy, and all will be well.
Click here for printer-friendly version: German Apple Pancake


