Monthly Archives: October 2010

The cat that trumped Austin City Limits

Two weekends ago, I flew to Texas to go to Austin City Limits (a huge music festival spanning 3 days) with two of my closest friends, Sarah and Vessie. We met while studying abroad in Paris way back in 2004, they were my bridesmaids a year later, and we’ve been getting together about once a year ever since.

We got tickets for Friday, and spent all day listening to music and trying to find a shady spot to establish ourselves. Thankfully the heat there was dry, so as long as you could find a spot out of the sun, it was delightful and perfect in every way.

I also was able to avoid the portapotties 100% of the time. Yes, this may mean that I was actually dehydrated–but I consider it a small victory.

I heard from my friends the toilets actually weren’t so bad. Lucky for them.

Anyway, Vessie has been getting into photography lately. Since my Nikon was outlawed by the rule-makers of the festival (no detachable lenses!), we left my camera behind and Vessie took over with her fancy point-and-shoot. At first I was disappointed . . . but what I got was a wonderful rest from my usual role as photographer. It was amazing. Yes, that role is self-imposed, and yes I usually enjoy it a lot–but for once, it was very freeing not to be the one behind the snappity-snapping. I just got to chill out, man, and be one with the music or something. I am pleased to say that after carting my camera, 2 lenses, battery recharger, and external flash across the country, I didn’t take a single picture the entire weekend . . . until our final morning there.

Because, you see, there were these cats. Layla and Clementine.

And their furriness is unmatched. Peerless. Luxuriant. Decadent.

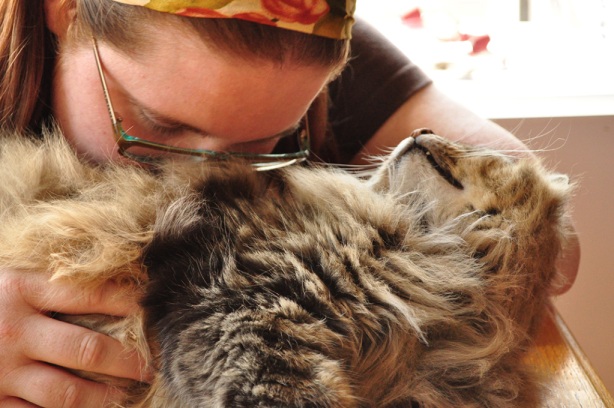
They require frequent combing to avoid snarls in their kitty armpits and on their kitty haunches. And the sight of Sarah combing Layla in the morning sunshine . . . well, my Nikon and I could not resist.

“Hey lady, that’s a little too much snuggling. Pick up that comb and get back to the grooming! Look at my fierce teeth!”

Did you know that cat bites are actually poisonous? If you get a deep bite, go straight to the emergency room, no joke. It happened to my uncle Brian, and it very, very scary. You’d never guess that those meowing pink little mouths are just a clever concealment for a deadly weapon.

I find it hilarious that I spent a fantastic 3-day weekend with my friends, brought my camera will full intentions of documenting our doings, and yet the only pictures I ended up taking were of these cats. Some may say this proves that I don’t have my priorities straight . . . but a snuggly furralicious kitty trumps it all: close friends. Music Festivals. Pete’s Dueling Piano Bar. The Austin skyline. The beautiful sunset. Mexican food. Thai food. The most scrumptious brunch I’ve ever had (and oh, do I ever need to introduce you to a Bloody Mary if you’ve never had one).

I grew up with three cats, so snuggling a furry animal feels . . . right. It feels like coming home.

Why don’t I own one myself, you ask?

Well, the answer involves hairballs and litterboxes.

Once, when I was 10 or so, I was sleeping in on a lazy Saturday morning. One of the cats came up for a late morning cuddle. Her name was Foca.

She threw up on the bed, on top of the blanket near my feet. Then she flopped down for a snooze.

What kind of a manners are these, for a lady cat?? Then again, not only did she sport a jaunty white moustache, but she also suffered from brain damage at a tender age, so I don’t know if she even understood the term ‘ladylike.’ I mean seriously, who goes around throwing up on peoples’ beds and then settling in for a snuggle as if nothing had happened?

The kicker is, I chose to keep on sleeping, and ignored the vomit for as long as possible. And it wasn’t just a hairball–it was her entire breakfast.

Thankfully, our other two cats Biscuit and Frisky took it upon themselves to clean up after her and simply eat the vomit. They were responsible cats, and had a very loose definition of ‘gourmet.’

And that’s why I don’t currently have cats.

But then I see furry paws like these . . .

I need a litter of kittens delivered to my doorstep by 8am sharp! Do you hear me FedEx Standard Overnight Kitten Delivery Service?

. . . but I don’t know what my husband would say about that. I might be stuck with litterbox duty for the rest of my natural born years. And who wants that?

After seeing Layla get all the attention, Clementine got jealous and came over for a photo op.

She posed serenely. “None of this skanky lolling around for me, thank you very much. I’ve got class,” she meowed.

“That Layla will do anything to get her picture taken. But I’m a decent cat. And you may not have noticed, but my whiskers are extremely photogenic.”

“Just don’t get too close with that lens or you’ll make my whiskers look fat.”

Sarah loves her kitties . . .

. . . and I love Sarah’s kitties.

Mosaic trivet tutorial

Early in the summer, my friend Beth kindly invited me to her home to make mosaics. She’s been doing it for about a year, and I concur with her assessment: it’s therapeutic! We spent about two and a half hours listening to music, drinking coffee, talking, snacking on grapes, and working on some fun projects. Beth and her husband David were our Bible study leaders last year, and are again this fall. They’re just great.

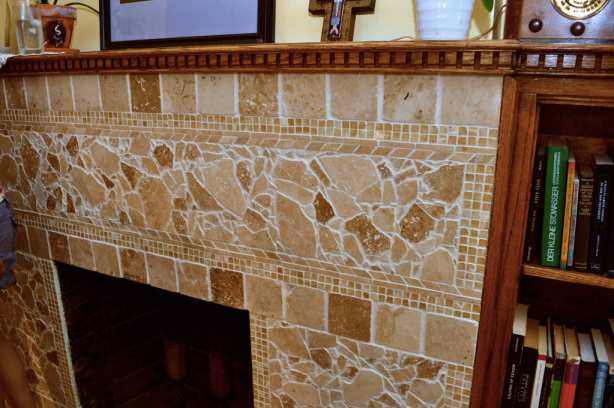
She has done beautiful, beautiful things with mosaics: it’s truly an art. She’s also very generous, and had given away almost all of her projects, so I only had a chance to photograph two of her pieces. First, the mosaic she herself did on their fireplace:

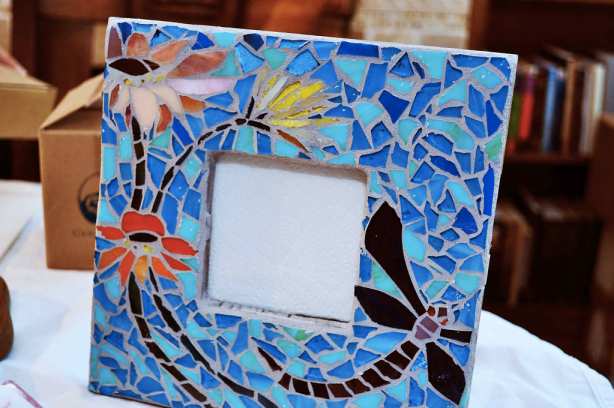
And second, this dragonfly/flower motif on a picture frame:

Isn’t it beautiful?? I would hang that in my house any old day. Heck, I would hang a dozen of them.

I am in no way a mosaics expert, but I thought I’d toss together a mini tutorial illustrating what we did, and what you need to start a project like this. I have to say–it’s a fairly cheap hobby. Once you buy a couple tools, the materials for making mosaics (mainly colored glass tiles and mortar) are very cheap and last for many, many projects.

A word of warning–there is a risk of getting cut, so be careful! I didn’t get cut, but I did develop a nasty blister from wielding the wheeled nippers. The handles are very grippy, and they gripped my skin right off. I considered including a photograph of the blister, and then I thought that might scare away the young’uns.

So let’s dive in!

Ingredients (what you need)

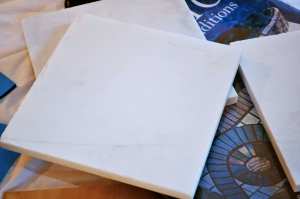
1. Sub strate, i.e. something to construct the mosaic on. It’s your “base” if you will. This can be a wooden picture frame, a marble tile (to make a coaster or trivet), a piece of wood–anything solid enough to stick little pieces of glass all over it. For this project, I used a 6×6 polished marble tile. Beth had a pack of 4 handy that only cost $5.50. Make sure you put the mosaic on the “rough” side, with the polished side down. No sense covering up the nice smooth part.

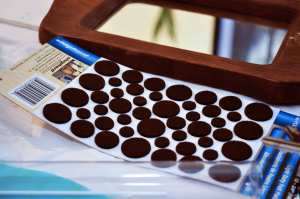
If you’re doing a trivet or coaster, you might want to also purchase some felt pieces to put on the bottom corners so you don’t scratch your furniture:

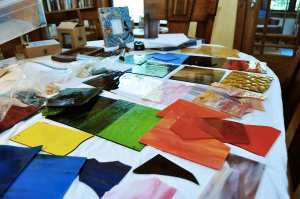
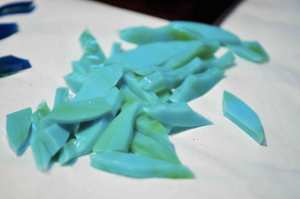
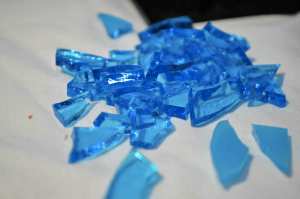
2. Glass tiles for the mosaic pieces. These range in cost from $2-$6. There are so many beautiful colors and kinds–opaque streaked glass (hand mixed), transparent, textured, etc.

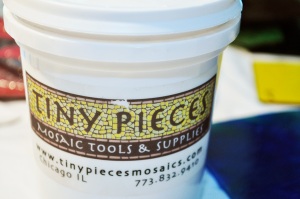
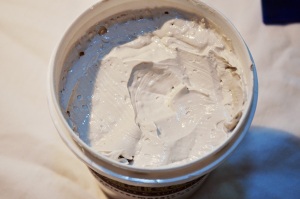
3. Premixed thinset mortar. A 16 oz can cost Beth $8. You can mix it yourself, but this was so convenient.

4. A nail file for spreading the mortar and for chipping out excess mortar at the very end.

5. Tweezers (optional) for handling bits of glass that aren’t cooperating with your big meaty fingers. I used them a couple times, but for the most part I find fingers are best.

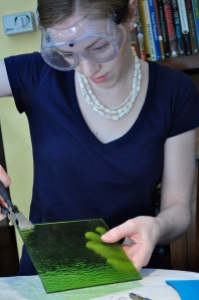
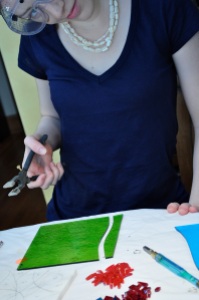
6. Protective goggles to wear while you cut the glass. This is important–tiny, tiny shards fly everywhere! Make sure to  wear shoes during the project and vacuum the area thoroughly at the end. And mop too if you can.

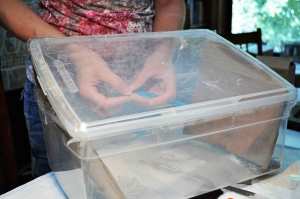
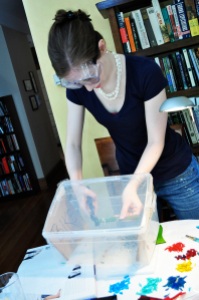
7. A plastic box for cutting the glass in. This prevents little bits of glass from flying everywhere when you cut, and provides extra protection for your face. You can make this out of any old plastic box you have lying around, as long as it’s big enough. See how Beth puts her hands and the glass inside the box as she snaps off pieces?

Besides being safer, it also makes you feel like you’re on some kind of a super cool hazmat team. Dealing with dangerous biological agents. You have 48 hours to save the world: Go!

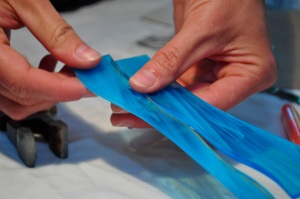
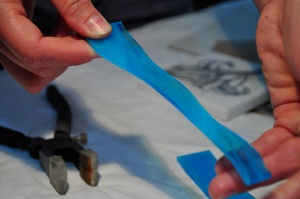
8. A scorer, to score the glass. Simply press down firmly, and with a steady hand, drag the scorer down the line you want to cut. You can draw the line you want to score onto the glass with a highlighter in advance, and the marker will wipe right off when you’re done. Or you can be wild like me and do it free-handed:

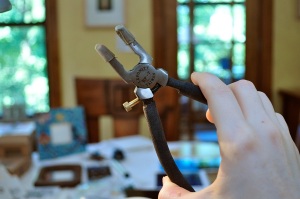
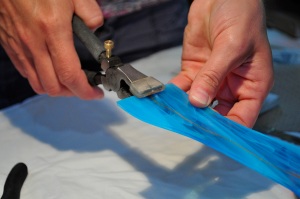
9. A breaker, to break off the piece you have scored.

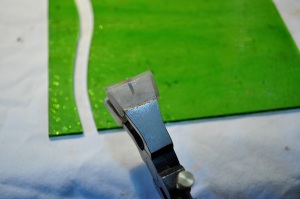
You line up the center mark of the breaker with the cut in the glass, and press firmly. Ta daa! It made me feel like a real professional

You can see the line on the tool (in the center) that you need to line up with the scored line on the glass. Line it up on the edge of the glass, and press firmly. It will snap right off. Magic!

Let’s watch Beth use it as well:

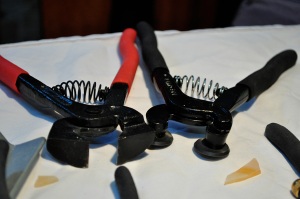
10. A wheeled nipper. This is the most expensive piece at around $32. Beth recommends the Leponnitt brand, and the wheeled nipper as opposed to the regular nipper. In this picture, the wheeled nipper is on the right:

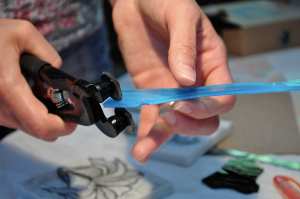
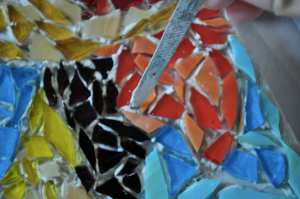
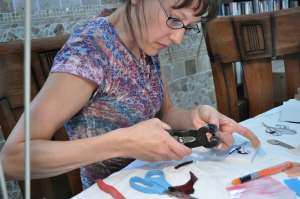
The tiny wheels are like tiny pizza cutter knife thingies. When they start getting dull, you can rotate them and use a fresh edge. You will use this tool to cut off tiny pieces of glass from the tiles. You can see below how Beth puts the glass between the wheels of the nipper and simply presses down firmly.
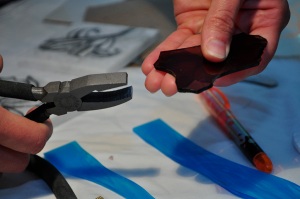
11. A pencil and/or marker to draw the design on your sub strate.

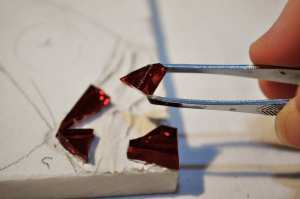
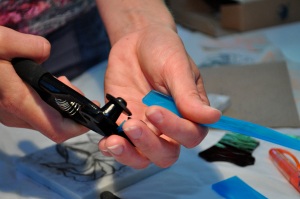
12. A chipper to take off the dangerous pointy edges. This cost Beth $8.

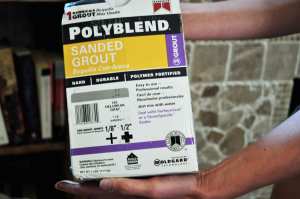
13. Sanded grout. Grouting your project is the final step in the process. You mix it with water and . . . well, you will soon see. You should probably wait 24 hours for the mortar to completely dry before grouting, so Beth sent me home with some grout in a can. Apparently this Darth Vader mask protects her from inhaling the grout.

14. Optional: mosaics book for inspiration.

And the fun begins

Here are pictures from our project.

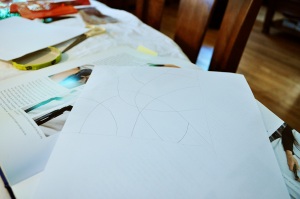
First, I decided on my design: as my first endeavor, I was going to keep it very simple and decided to do an abstract kaleidoscope of colors. I first drew the design on a sheet of paper.

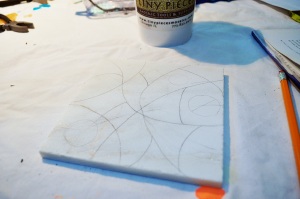
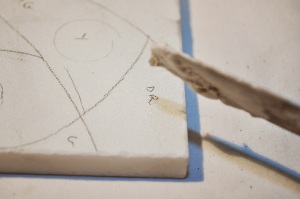
Then I drew it again onto my tile with a pencil, and (after taking the picture below) wrote in what colors I thought I might like in each section.

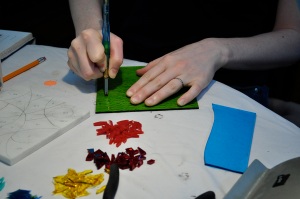
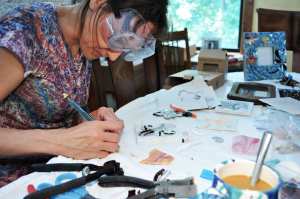
Then I had to break a ton of glass. With protective gear.

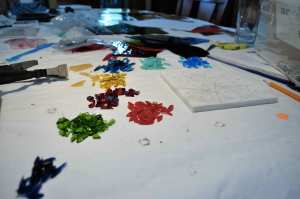
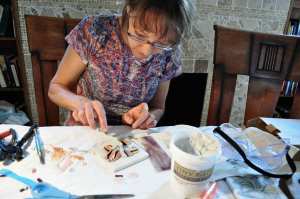
After breaking it, I assembled it into neat little piles. I love neat little piles!!

Aren’t these colors just entrancing? I could stare and stare at them.

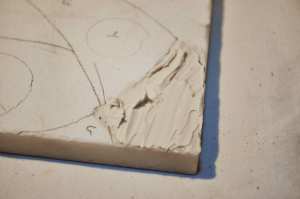
Now it’s time to spread some mortar on the tile:

You can use a knife or a nail file. I ended up using the nail file a lot more–it helped me be more precise.

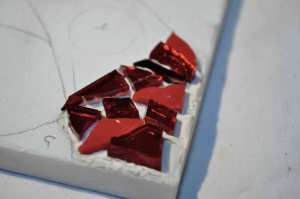
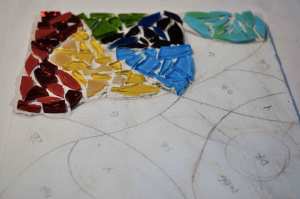
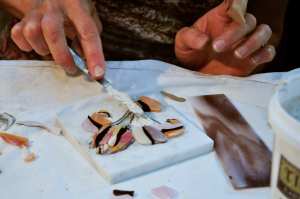
Now it’s time to start sticking on the glass. No need to hurry–you have plenty of time before it dries. I even pulled up an entire section I didn’t like and re-stuck it on afterwards with a little more mortar. No biggie.

You want to leave about 1/8 inch around the sides for the grouting at the end. Try to leave equal spacing between your pieces. You don’t want clumps and then wide spaces: go Even Steven. Even Steven is his name.

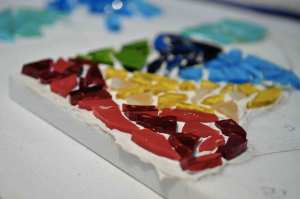
Beth recommended combining opaque and transparent tiling for each color segment. She was so right–it added a lot more visual interest than if I had just used the same tile in one section. See how some of the yellow pieces are clear, and some opaque? Yeah.

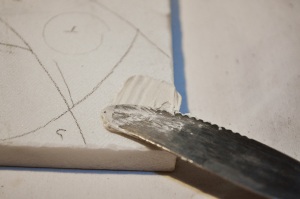
Then it was time to remove the excess mortar from in between the pieces, so the grout will have room to take hold. I picked away at it for a few minutes using the trusty old nail file:

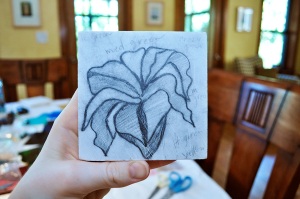
Here are some shots of Beth working on her project–a tile with a lovely flower on it. She did a sketch on the tile first, and is cutting the exact pieces she wants. It’s much more detailed work than my haphazard kaleidoscope.

Here she is using the wheeled nippers …

Now this is where I get real with you guys. After making this mosaic and taking home my grout, it took me 3 months to get around to grouting it. This just goes to show that I need to learn my own lessons about doing what I want and not procrastinating . . . but you already read all about that on Monday, so I’ll give you a rest from the moralizing.

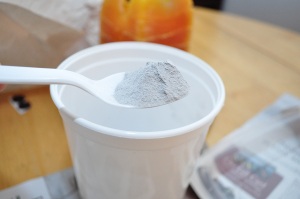
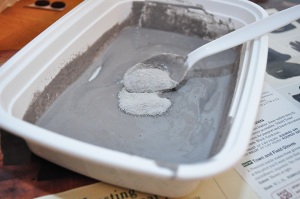
When you’re ready to grout your project, mix the dry powdery stuff with some water until it’s the texture/thickness of hummus.

I used a take-out container that I could guiltlessly throw away when I was done. You should protect your mouth and nose during this process so that you don’t inhale clouds of grouting dust. I chose to simply hold my breath the entire time. True story. I’ll advise you of any ill effects that I notice . . . but so far so good.

Lay down tons of newspaper or magazine pages to protect the surface you’re grouting on. We’re about to make a small mess.

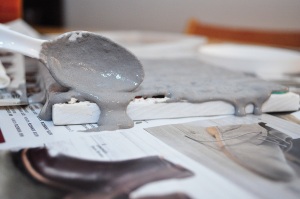
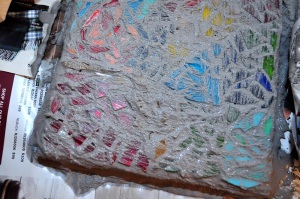
Once the grout was mixed, I poured and spread it over the trivet with a plastic spoon. I think my grout was a little too watery–so make yours thicker.

It worked out great. There it is, a big gray lump:

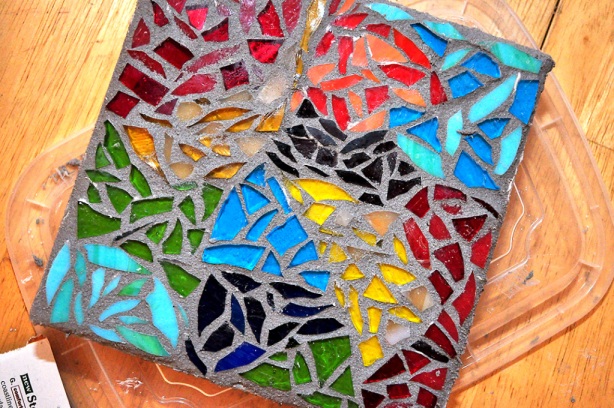
And that’s the tutorial! Finito! The end! Doesn’t it look awesome?

Just kidding.

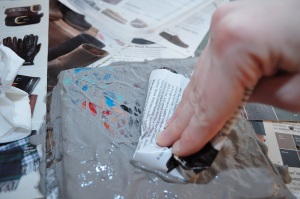
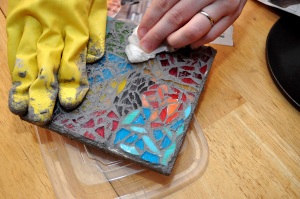
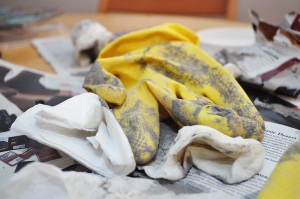
Next, I donned some yellow disposable gloves and went to town, pressing the grout into the cracks, smoothing it down, etc. I ran my finger along the sides of the trivet to ensure Even Steven was getting his dues. When it all looked evenly grouted, I obtained large quantities of damp paper towels or magazine pages and wiped the excess of the top.

Yes, I realize I’m not wearing gloves in that picture. Please pretend I am.

Then I wiped some more.

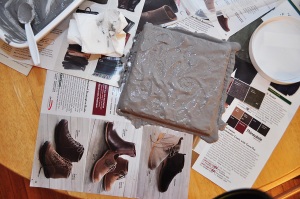
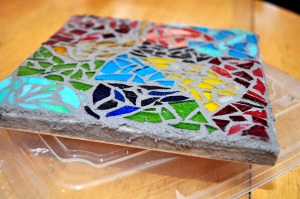
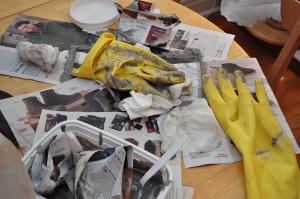
As you can see, by the end I was using the plastic cover of the take-out container to keep the mosaic up off the table. That’s where I left it to dry for the next 24 hours.

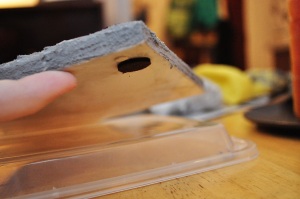
I also used this opportunity to put those little felt things on the bottom of the trivet.

Then I wadded up the whole messy pile of disgrace and threw it all away.

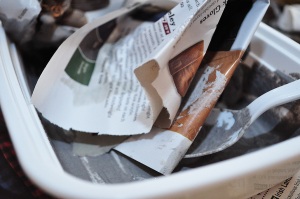
It looks like a disaster, but it took 20 seconds to clean up because I simply balled up all the magazine paper at the bottom and took 2 steps to my left, where our handy-dandy trash can was waiting and ready.

There were a few little smudges of grout on the glass pieces when I was done that dried overnight. I’m pleased to say they scraped off really easily (with my fingernail) the next day, no harm done.

 And that is all she wrote, folks. At least until tomorrow–then she wrote some more. Because she was a blogger, and she couldn’t leave well enough alone.