Tag Archives: kid-friendly

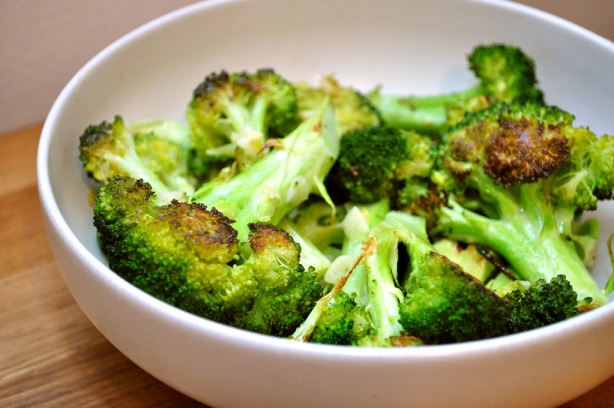
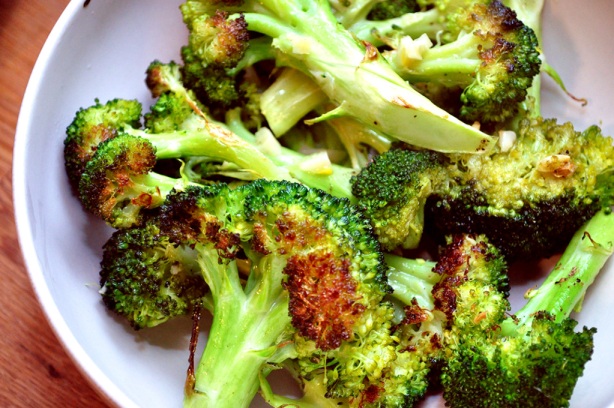
Simple Roasted Broccoli with Garlic

The much-used technique of steaming broccoli can be good, but doesn’t always bring the kind of flavor I look for in a vegetable. What’s worse, more food establishments than I can count go a step further and over-steam it, serving floppy broccoli that has lost its color, texture, and flavor in the process. I’m here to tell you: it doesn’t have to be that way! I discovered this technique for caramelizing broccoli in the oven via America’s Test Kitchen which will revolutionize your views on this humble vegetable. Since broccoli doesn’t have enough natural sugar in it to caramelize naturally like many other vegetables such as carrots or onions, this technique involves . . . helping the green stuff along its way. With a little sugar love. This is one of the best ways I’ve ever eaten broccoli. Make it! It’s easy, and with a 10 minute cook time it’s also super fast.

Ingredients

(Serves 4)

2 large broccoli crowns

4 TBS olive oil

1/2 tsp salt

1/2 tsp sugar

1/4 tsp black pepper

4 cloves garlic (optional)

Let’s get started–this really couldn’t be easier–but there are a few things that are absolutely necessary to make sure the caramelization process happens to its fullest potential. I’ll walk you through it.

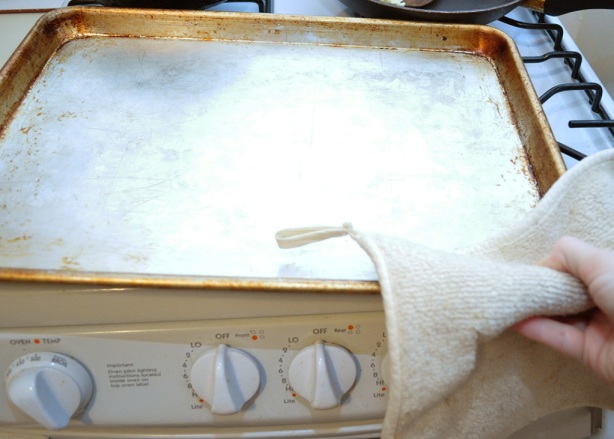
Preheat the oven to 500 degrees, with the baking sheet inside. Prepare the rack so that the sheet is closer to the element than not. Heating the baking sheet fully is 100% essential in getting the best flavor out of the broccoli.

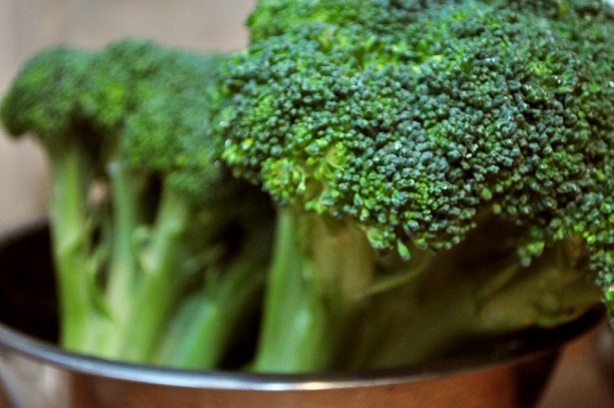
Now let’s give that broccoli at good washin’.

Why oh why didn’t I focus the above picture properly?? *bashing head against computer* In the little “About” page I wrote when I started this here blog, I explained my terror of one day posting a blurry, non-sharp picture. I imagined hordes of professional photographers descending on me with sticks and stones to punish my incompetence. And now, that day has come. So far, no sticks, no stones, but I’ll keep you posted.

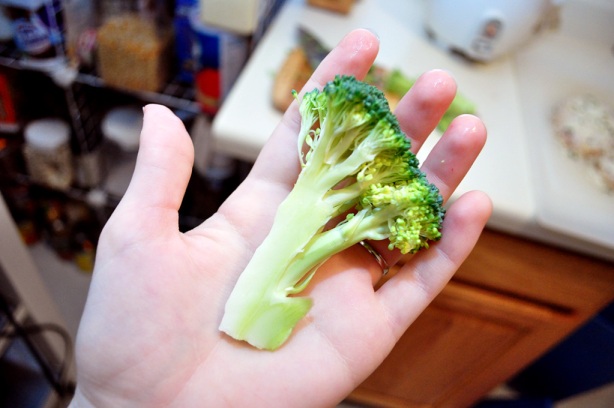
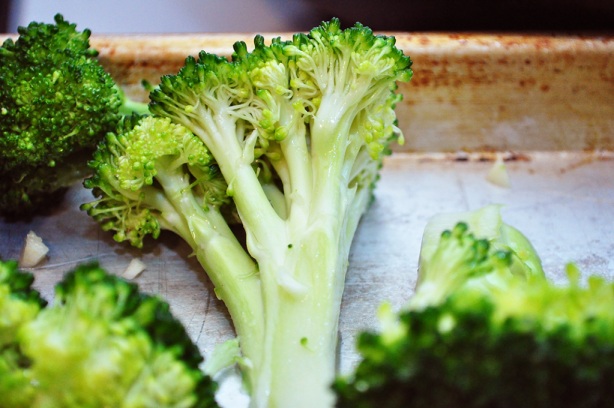
Cut the broccoli into segments. You want them to be on the large side, about the length of the palm of your hand.

Don’t be tempted to cut them into cute, small pieces, because then they won’t roast properly–instead, they’ll just kind of steam away, bringing back the “floppy broccoli” problem we’re trying to avoid. Also, cut them so that there is a flat side on most pieces–just slice right through that broccoli crown (instead of separating off individual florets). You want flat sides for the caramelization to happen.

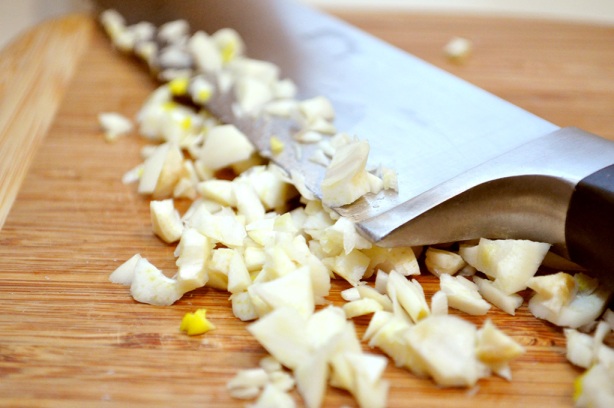
Mince the garlic . . .

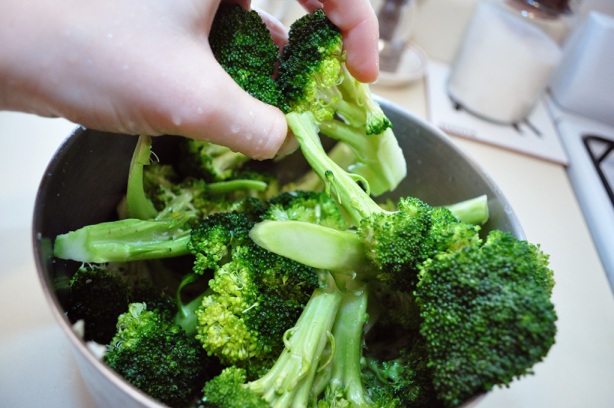
. . . and mix the broccoli, garlic, oil, sugar, salt, and pepper together in a bowl with your hands.

Make sure all the broccoli pieces are coated as evenly as possible.

When the oven is fully preheated (make sure it is! Mine wasn’t, and the roasting didn’t go as well as it normally does), take out the hot sheet pan.

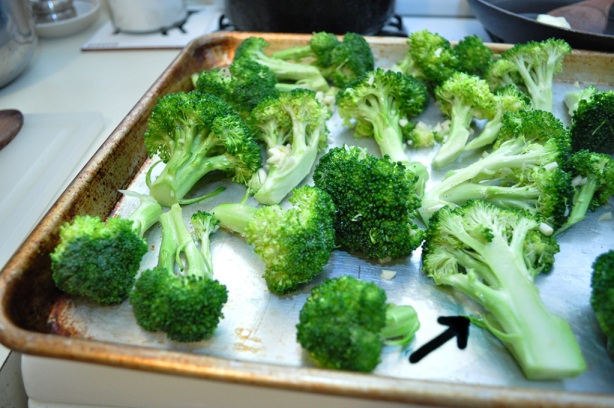
Working quickly, arrange the broccoli on the pan. You’ll hear a delightful sizzle as the broccoli hits the metal surface. Make sure there is some space between the pieces, and always lay each piece with its flat side down.

I have inserted a black arrow in the above picture to show you what NOT to do. That flat side is not down! Turn it over Jenna! C’mon, get with the program!

Zer ve go. Zat is better, ja.

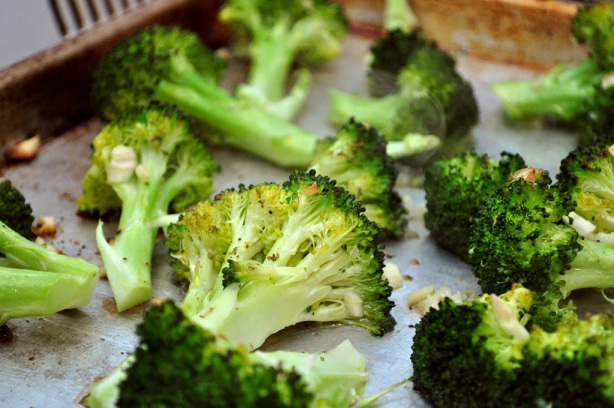
Roast for 10-12 minutes.

I lifted up a piece to examine the underside: not brown enough yet, so I put them back in for 2-3 minutes longer.

Once they are nice and brown, remove and serve!

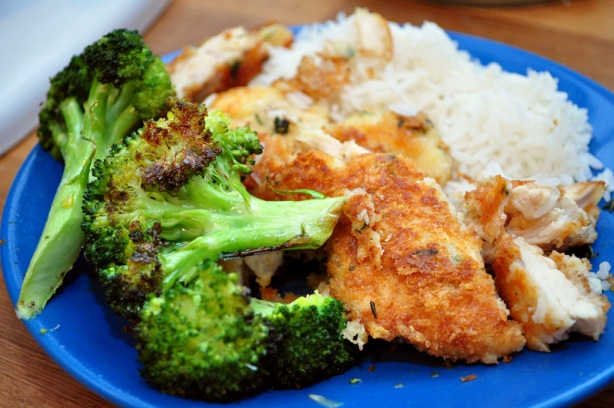
I dished it up with some parmesan chicken . . . recipe coming at some point.

You could easily sprinkle some lemon juice over it, or some parmesan–but it’s wonderful just as it is.

*Note: a number of people who have made this recipe tell me it’s very kid-friendly. Thanks for the tip, ladies!

Click here for printer-friendly version: Simple Roasted Broccoli with Garlic
Chili-Cheese Etouffée

This was our recipe of choice for Family Vacay 2010, and the photographs below were taken during that marvelous week. My husband and I were in charge of feeding a dozen people Thursday night, and this dish was the obvious pick. It’s an adapted version of a dish served at Yat’s, a Cajun restaurant in Bloomington. This recipe makes such a large pot that there were ample leftovers the next day–I estimate the batch we made would have fed about 16 people; the recipe below is for 8-10 so that you don’t have Etouffée coming out of your ears. Before you start cutting down the recipe even more though, please consider this: it’s so amazing that even if you’re just feeding 2 or 3, you can freeze the rest and thus ensure that when the craving hits you again (and it will hit you hard) it is immediately on hand.

This is probably the most delicious recipe on this blog to date. The Mush is really good . . . the caramelized salmon is also superb . . . but this recipe is crowd-friendly and I guarantee everyone will love it. Unless they’re lactose and gluten intolerant, in which case you need to make a separate little stirfry for them.

Poor Luke. I hope he doesn’t know what he’s missing.

This recipe is so good that:

1. My 14-year-old cousin Brianna adored it. She normally only eats Chicken Noodle Soup and string cheese, so this is saying a lot.

2. Both my sister Heidi and I had this dish served at our weddings. Yup.

Before we jump in, let’s get in the mood for a hot stew-like concoction by examining pictures of the rainy day on the lake.

I deserted any pretense of subtlety and electrified the blue in this water using a fun tool in Photoshop: “Selective Color.” If you own Photoshop but haven’t used it, get with the plan, Stan.

Mmmm, I’m getting hungrier by the minute.

One more explanation and then I promise we’ll get to the good stuff. The step-by-step pictures. You see, I had just changed my lens to my zoom lens in order to capture the raindrops on the lake from a safe distance. Then I came back to the main house to cook. If you remember the post about our lodgings during Family Vacay 2010 (click here to read), you’ll recall that I was staying in a separate smaller cabin, where my other lens was housed. And I was not going back out into the rain to change that lens, golldarnheckanannywhillikins. Therefore, all these pictures were taken with a zoom lens that required me to be very far away from the pot I was attempting to photograph, which proved to be quite awkward. Do I regret my choice? If I say yes, my Mom might say “I told you so,” so I’ll stick by it. But that’s why the pictures are a little . . . a little not so awesome. But the food was!

Now that I’ve got you on board with how amazing this is going to be, let’s begin. There is a long list of ingredients, but most of that list is just composed of spices, plus you really just toss everything into a pot anyway. It’s not difficult—please trust me. To prove this I will walk you through it step by step.

Ingredients

(Serves 8-10)

1 1/2 sticks butter

3/4 cups flour

1 bunch chopped green onions

2 stalks celery

1 large onion

1 red bell pepper

1 green bell pepper (I added a yellow one too)

6 cloves garlic
1-14.5 oz can diced tomatoes

½ tsp dried thyme

1 TBS tomato paste

1 tsp dried basil

1/2 tsp black pepper

1/4 tsp white pepper

1/4 tsp cayenne pepper

1 tsp chili powder

Pinch ground coriander

Pinch ground cumin

Pinch ground cloves

Dash Worcestershire sauceDash Tabasco sauce

1/4 c dry sherry

3 cups chicken stock

3 cups shredded aged cheddar

8 oz heavy whipping cream

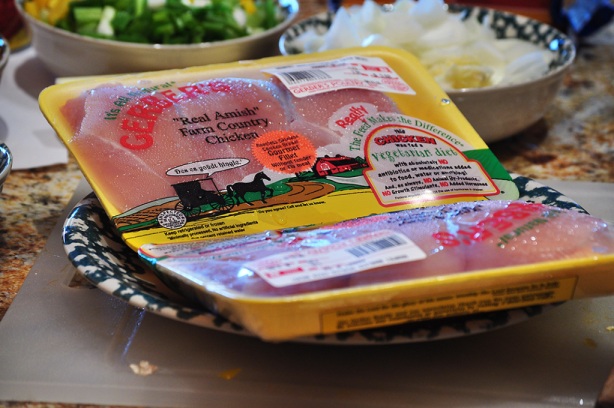
4 chicken breasts

Cooked white rice, to serve

First, chop all your stuff: the celery, peppers, onions, and garlic. You can chop up your chicken now as well if you feel like it, though it doesn’t go in until the end.

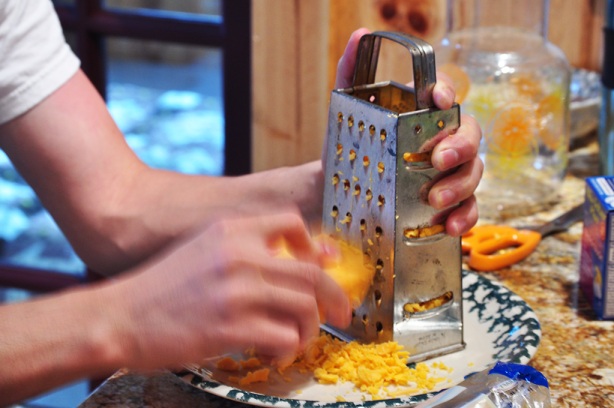
Shred your aged cheddar–please make the extra investment and buy some good quality aged cheddar, because this is a key flavor and I promise it will make a big difference.

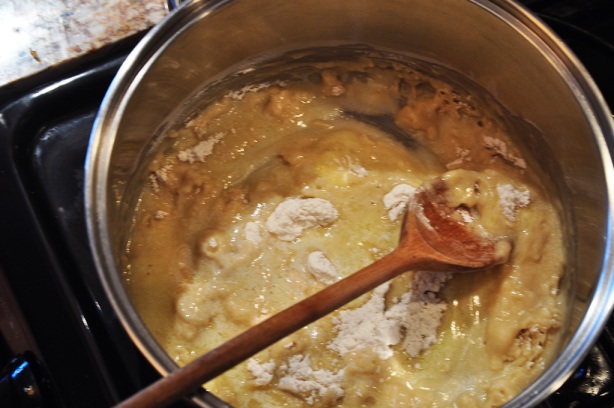
Melt the butter in a large, large pot. When it’s melted, add the flour. Don’t be like me and take a hideous blurry picture because you’re too lazy to change your lens.

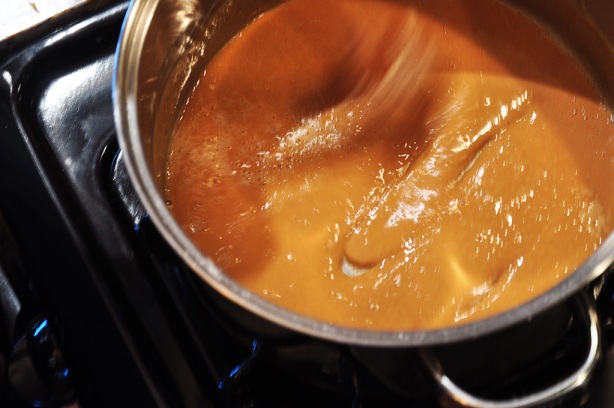
Stir over medium heat to create what’s called a roux. Keep it cooking until it gets to be a golden brown and releases a nutty scent. This took me about 10 minutes. Check out the change in color from the pale yellow above to the rich golden hue below:

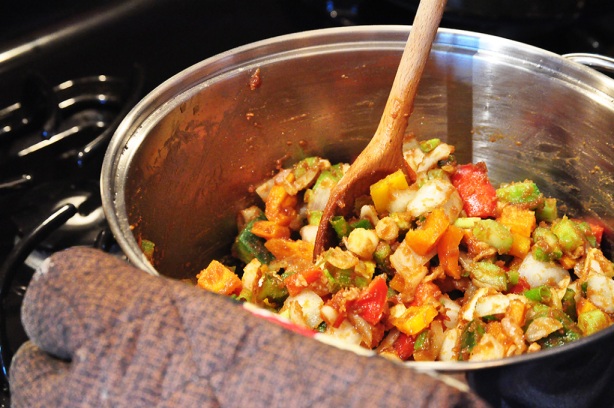
Add the chopped green onions, onion, garlic, bell peppers, and celery.

And we’re done! Doesn’t it look appetizing?

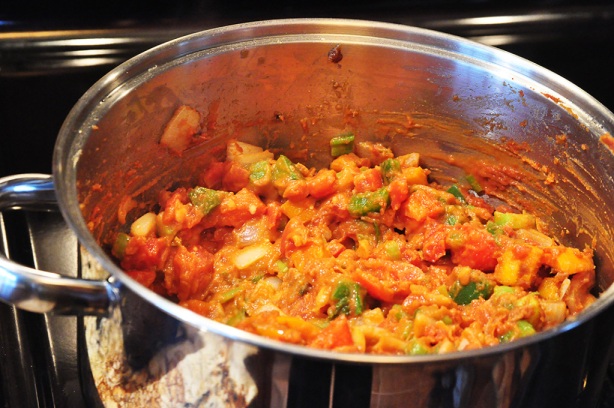
Just kidding! Cook those veggies about 6 minutes, until softened.

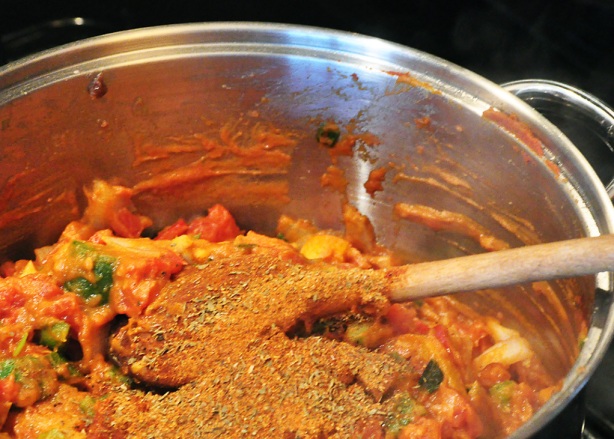
Add the tomato paste and all the spices. Cook for another few minutes, stirring to combine.

Add the can of diced tomatoes. Cook for another few minutes.

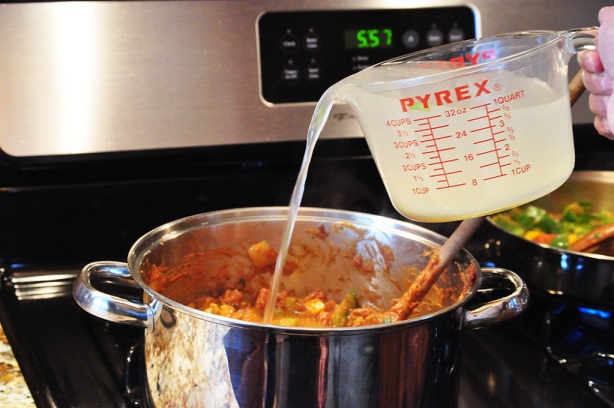
Add the Tabasco, Worcestershire sauce, dry sherry, and chicken stock.

Bring ‘er to a boil, then lower the heat and let it simmer for a good 30 minutes. It should thicken a good bit–that’s the magic of the roux happening.

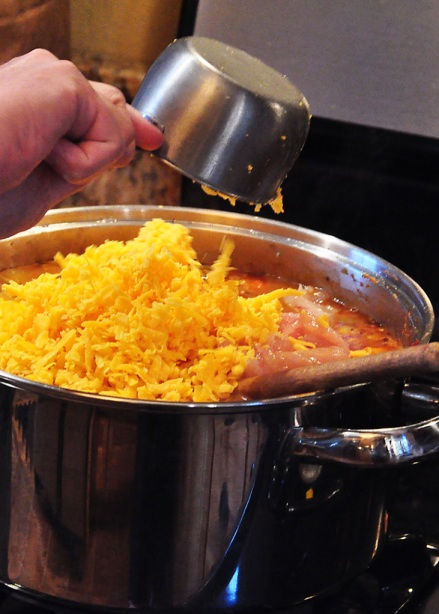
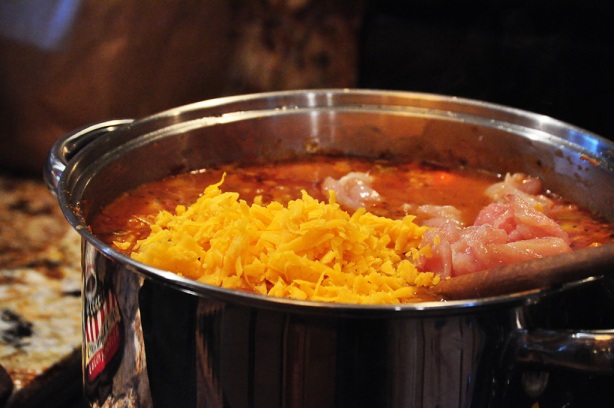
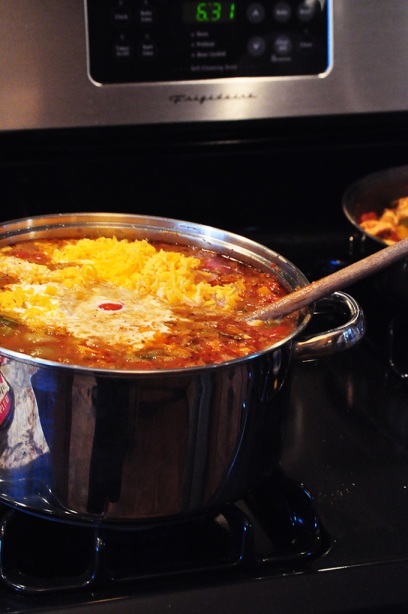
Add the cheese, heavy whipping cream, and chicken. Simmer over low heat until the chicken is cooked through, about 6-7 minutes.

Mmmm. . . raw chicken floating in a stew pot. Give ‘er a stir and submerge that pink uncooked flesh, for the sake of decency.

If it’s not quite thick enough, create a cornstarch/water slurry and add that in. Or add more cheese. Or something. Looks about ready to me . . .

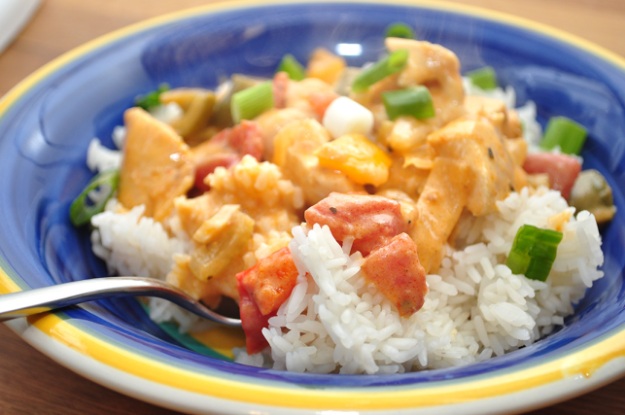
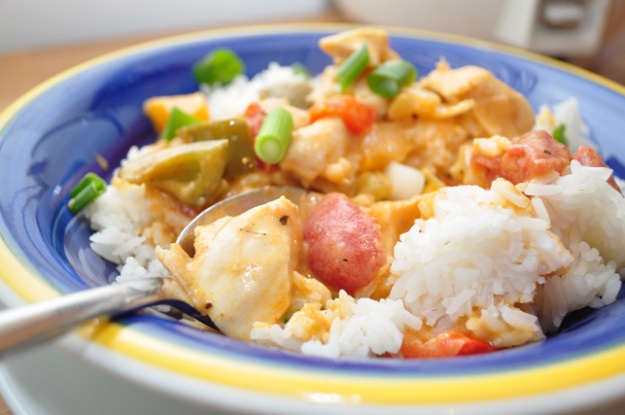
Serve it over white rice, and garnish with green onions and an extra drizzle of dry sherry. I guarantee you will go back for more.


Enjoy!

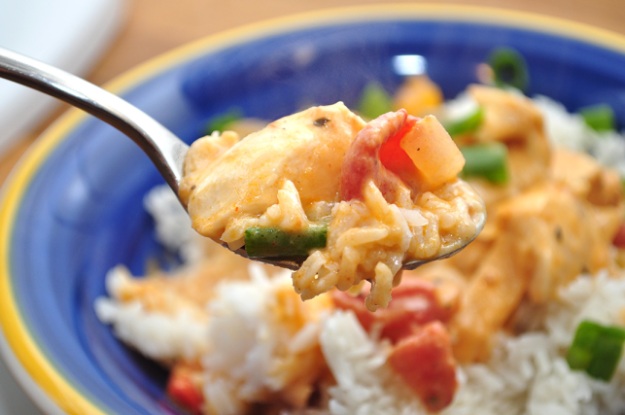
The pieces of chicken are soooo tender . . . sooo flavorful . . .

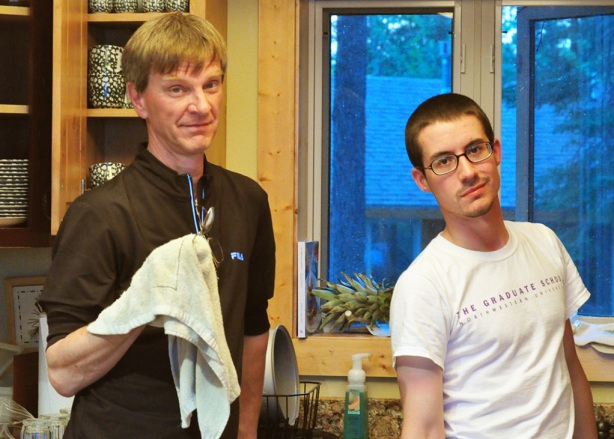
Now you just have to get a wonderful father and hot husband to do the dishes, and your evening will have been perfection.

Click here for printer-friendly version: Chili-Cheese Etouffée